

Why Every Saddle Hunter Needs a Rappel Kit
You’re 25 feet up, miles from the truck, no cell service, and something just shifted. Maybe a stick kicked. Maybe

Setting up a hunting saddle is essential for comfort, safety, and success in the field. Because every hunter’s body shape and preferences are unique, it’s important to adjust your saddle setup to fit you personally. Follow these steps to set up your hunting saddle for maximum comfort and effectiveness.
Step 1: Choose the Right Saddle
The setup process starts with selecting the right saddle for you. Before purchasing, try out different models to see which one feels most comfortable. Consult the size charts available on manufacturer websites to ensure you’re choosing the right fit. Key considerations include price, comfort, safety features, and availability.
Step 2: Adjust the Waist Belt
Once you receive your saddle, begin by putting it around your waist and tightening the belt to your desired comfort level. This belt should be snug but not restrictive, as it will support you while climbing and sitting in the tree.
Step 3: Buckle and Adjust the Leg Straps
After securing the waist belt, buckle the leg straps around your thighs. Leg strap tension is a matter of personal preference—some hunters keep them slightly loose to prevent pinching, while others prefer a tighter fit. For comfort, it’s often recommended to leave enough room to fit a balled fist between your leg and the strap. This helps the straps stay comfortable even when you’re in a sitting position.
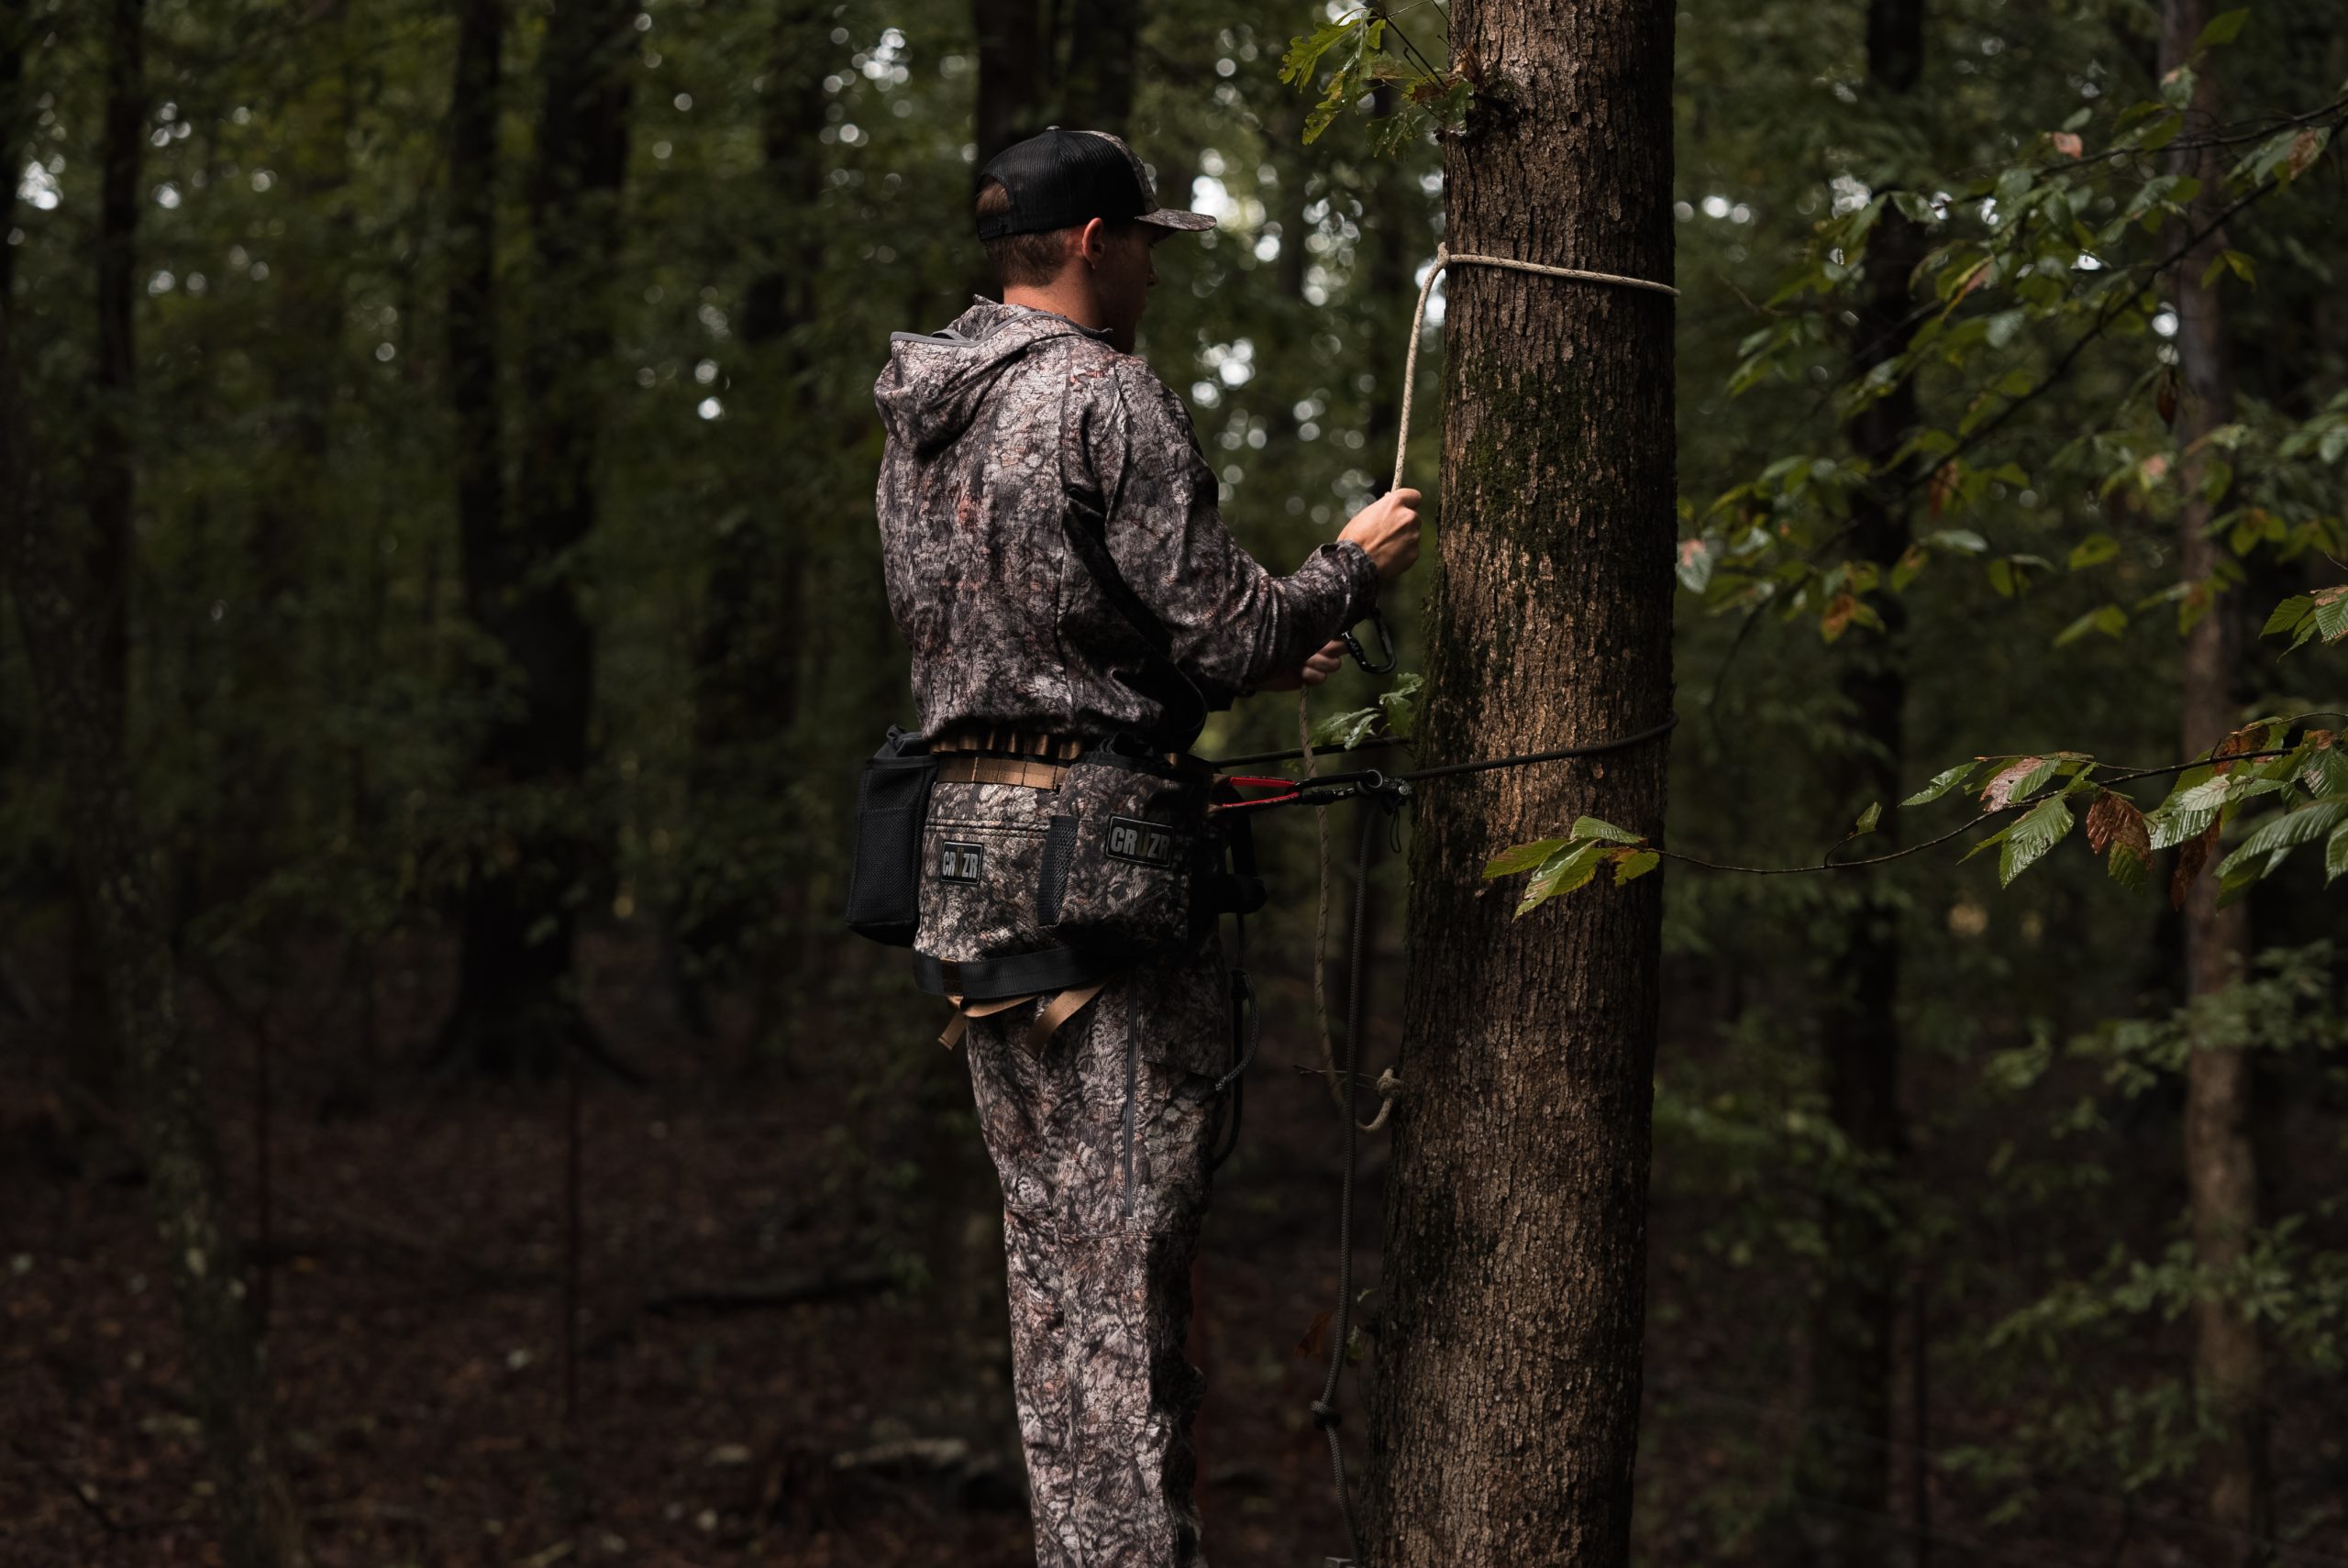
Step 4: Attach Your Lineman’s Rope and Saddle Bag
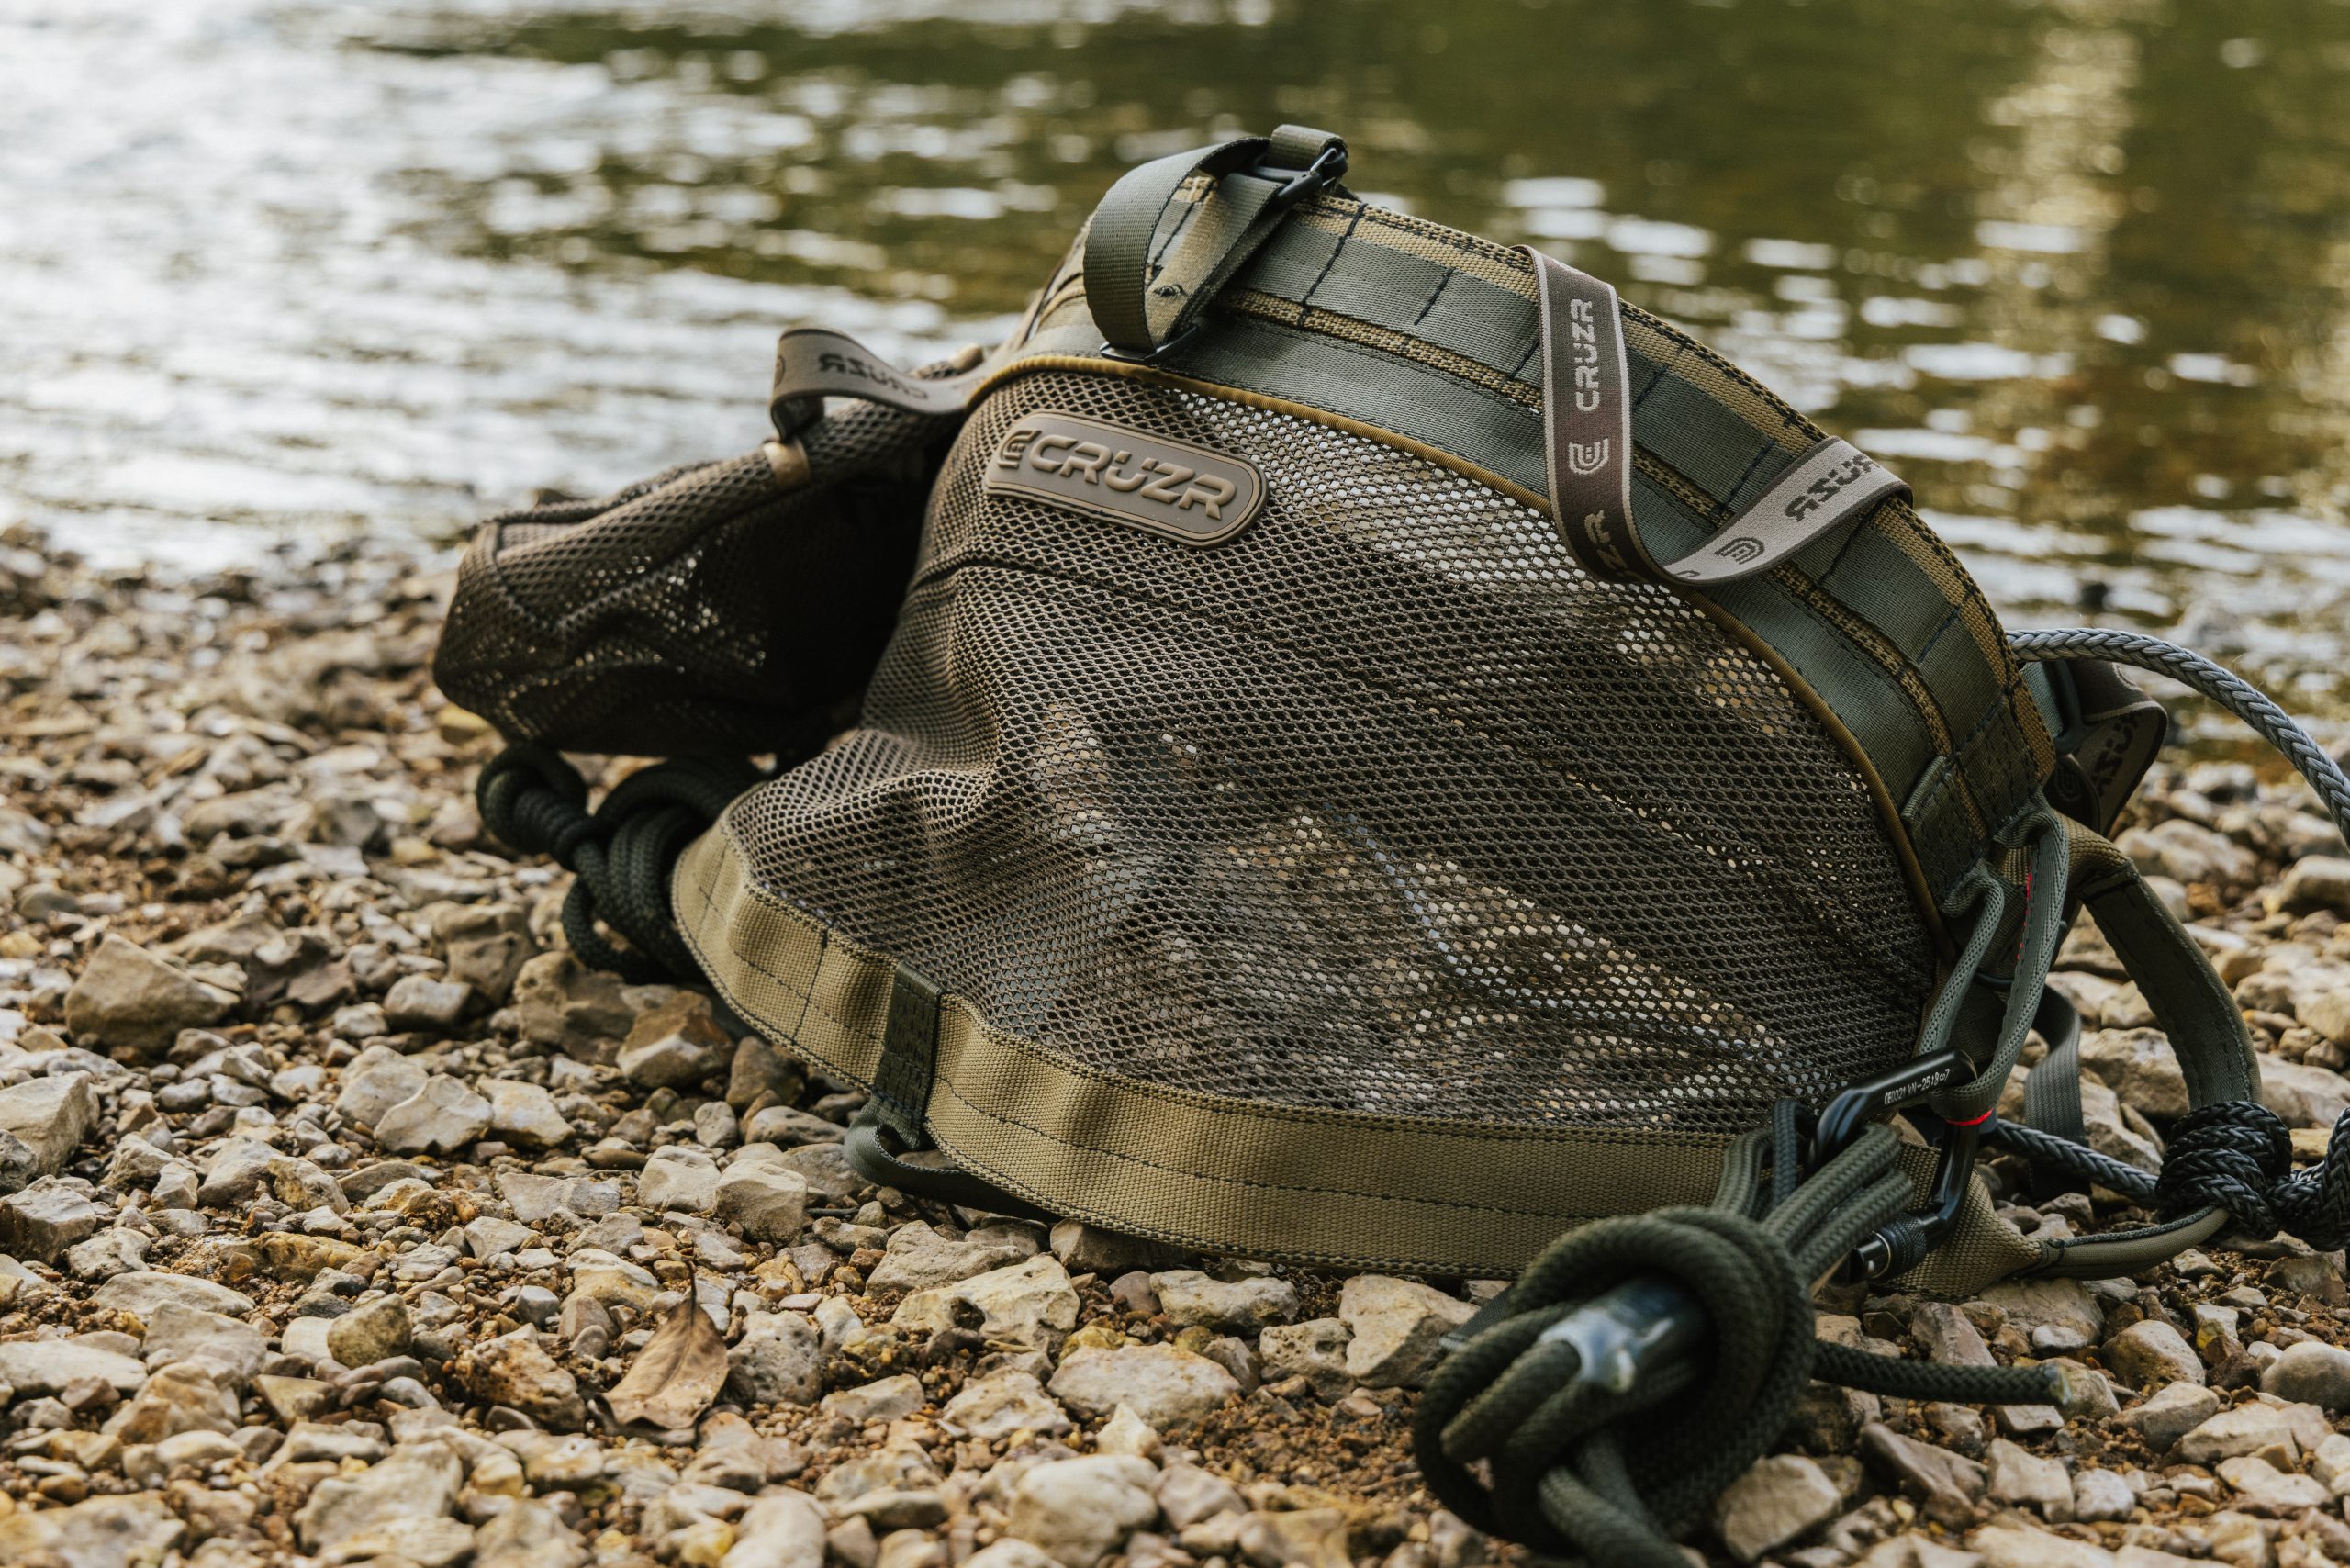
Attach your lineman’s rope to one of the D-loops on your saddle. If you’re right-handed, you may find it easier to attach the lineman’s rope to the left D-loop and wrap it around the tree to clip into the right D-loop. Additionally, attach your saddle bag to the MOLLE loops on the saddle at this stage. For right-handed hunters, we recommend attaching the saddle bag on the left side, and for left-handed hunters, on the right side. This positioning will allow easy access to gear while in the saddle.
Step 5: Adjust the Bridge Position
With CRÜZR Saddles, the bridge comes pre-installed on the saddle. However, you may still adjust its position on the D-loops for comfort. Lowering the bridge connection point on the D-loops can reduce hip pressure, shifting more weight onto the back of your thighs, which can make long sits more comfortable. Experiment with these adjustments to find what feels best for you.
Step 6: Fine-Tune the Bridge Length
Use the Prusik knot to adjust the length of your bridge, either shortening or lengthening it as needed. Starting with a shorter bridge often provides more control, while a longer bridge offers greater flexibility for shifting positions. Practice adjusting this at ground level to get comfortable with the setup.
Step 7: Practice Attaching the Tether
For safety, start by practicing on a tree at ground level or on a platform just a foot or less off the ground. Tie the tether rope around the tree, beginning at about eye level. This is a good starting point for most hunters, and you can adjust the height as needed for different hunting positions.
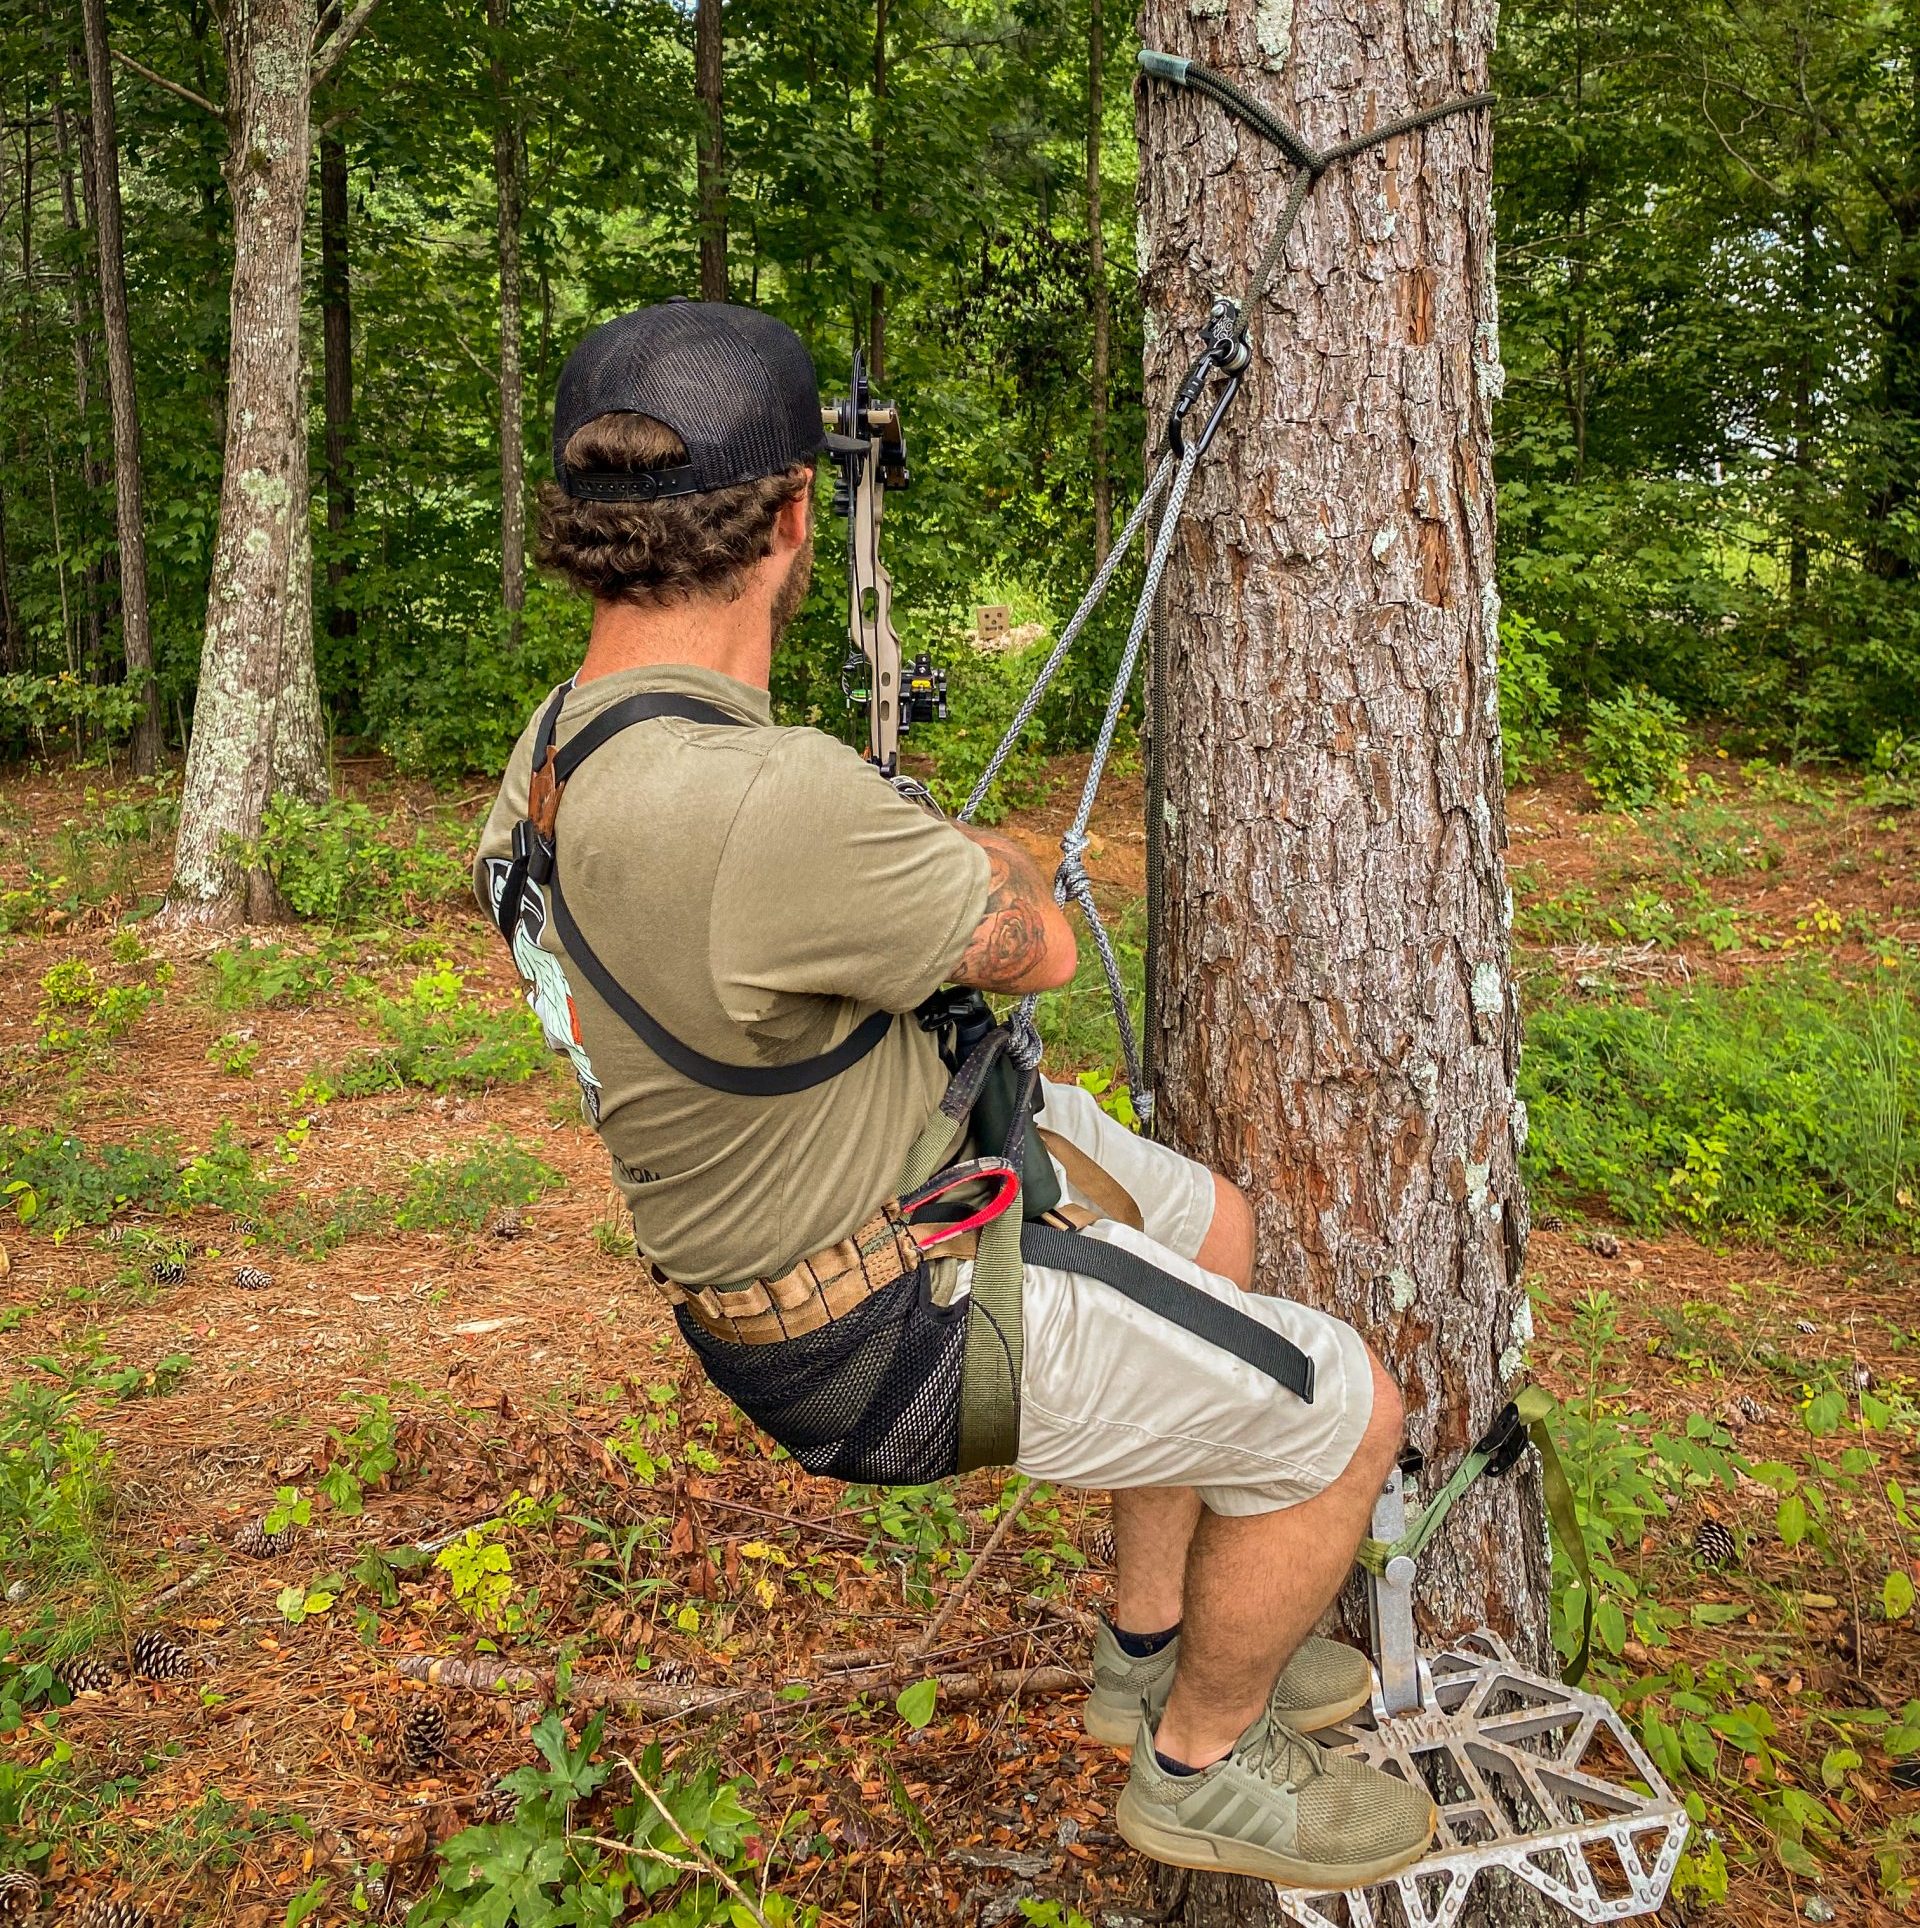
Step 8: Connect the Tether to Your Bridge
Wrap the tether around the tree and connect it to your bridge using a carabiner. Always ensure at least one point of connection to the tree for safety. When transitioning from the lineman’s rope to the tether, do not disconnect your lineman’s rope until the tether is securely attached.
Step 9: Make Final Adjustments for Comfort
Once you’re attached to the tree, make final adjustments to fine-tune your comfort. You may want to:
•Move the bridge up or down on the D-loops to adjust weight distribution.
•Loosen or tighten the leg straps based on your position.
•Adjust the tether height or length to allow for either a leaning or sitting position against the tree.
Experimenting with these adjustments will help you find the most comfortable setup for your style of hunting.
Step 10: Set Up Additional Gear
Once your saddle is secure and comfortable, you can set up any additional gear you need for your hunt. This includes attaching gear straps, knee pads, or other accessories. For example:
•Gear Straps: Attach these to the tree to hold your bow, backpack, or other frequently accessed gear.
•Knee Pads or Knee Rest: Knee pads protect your knees when leaning against the tree, while some hunters prefer products like Knees-Ease™, which attaches to the tree and eliminates knee straps.
Final Thoughts
Remember, setting up your saddle begins with selecting the correct size and trying out different models to find one that fits you well. Always follow safety protocols during your setup, and practice at ground level until you’re comfortable with all the adjustments. Consider additional accessories like saddle bags and knee pads to improve your experience further.
Once you’ve practiced, you’ll be ready to climb higher and enjoy a safe, comfortable, and successful saddle hunting experience.
-Michael Chaney, Author
*This article has been edited from its original for style and clarity.
You’re 25 feet up, miles from the truck, no cell service, and something just shifted. Maybe a stick kicked. Maybe
Fiber-Level Engineering to Deliver Best-in-Class Performance For years, the CRÜZR® XC Saddle has been a staple in the saddle hunting